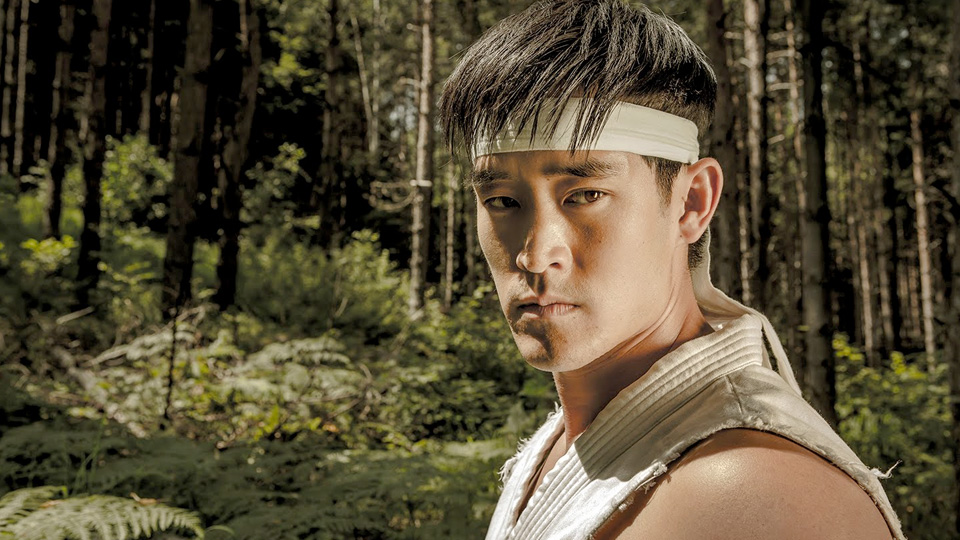
Today I had a chance to talk to one of the fastest kickers in American martial arts movies, you could see him alongside famous martial artists such as Cynthia Rothrock,…
Martial arts movie genre rises from the ashes and more and more talented persons try to do something different and raise the bar. Tony Jaa amazed the world with his…
Budomate: As far as I know your parents from Korea, but you were born in US, learning Taekwondo was only your decision or it is just family tradition? Ilram Choi:…
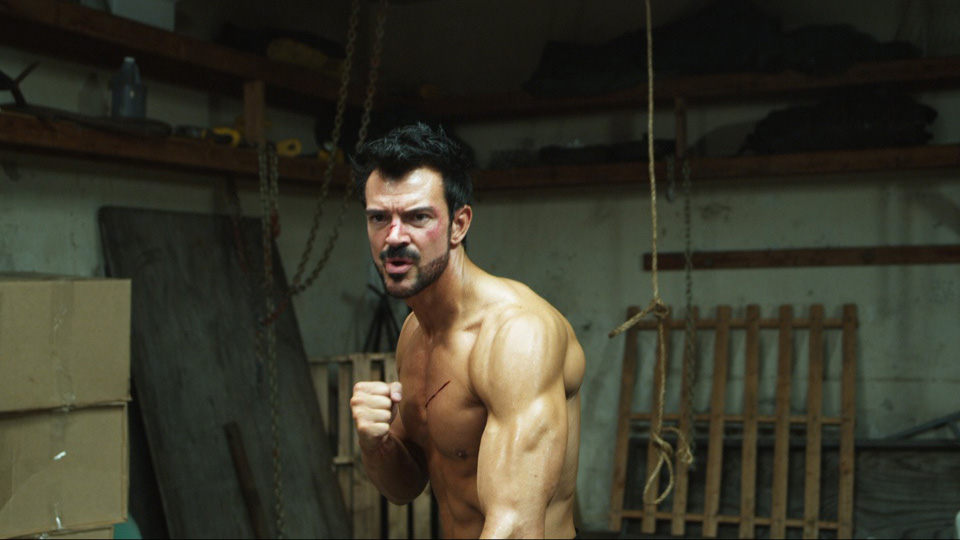
Today I was lucky to talk with one of the most underrated stuntmen Mike Moeller. This tough hardworking German guy knows everything about stunts, falls, kicks and choreography. His intense…
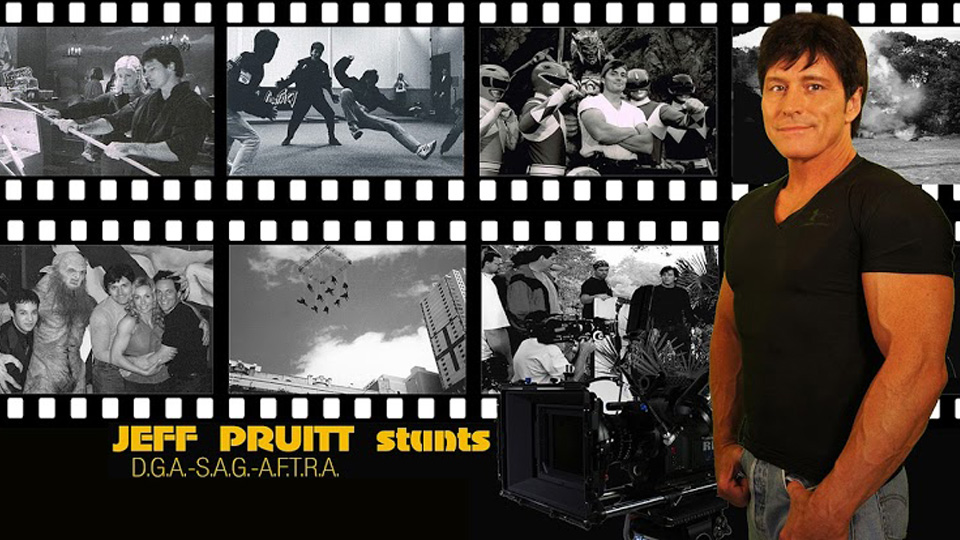
Today I proudly present my exclusive interview with one of the most popular fighting choreographers Larnell Stovall, who has just won The Award of The Best Fighting Choreographer 2011, the…
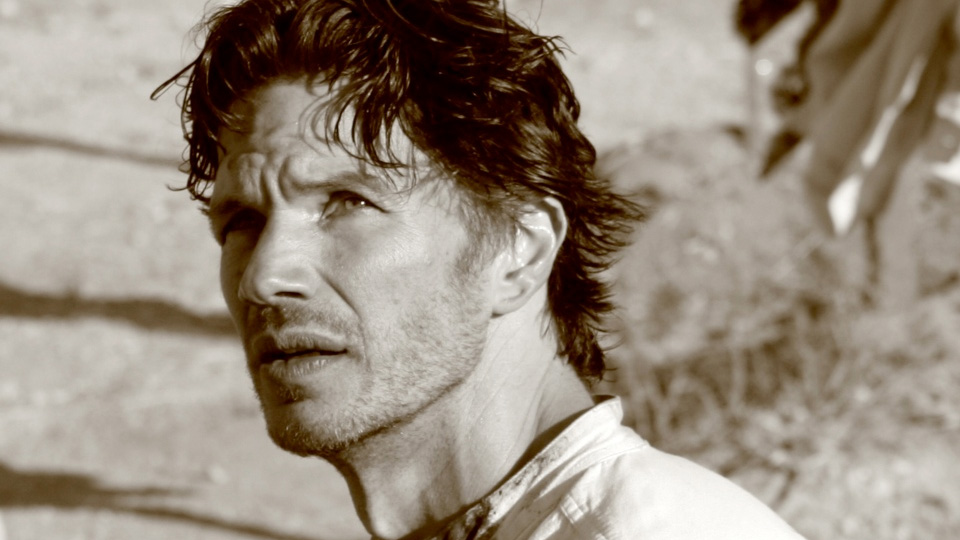
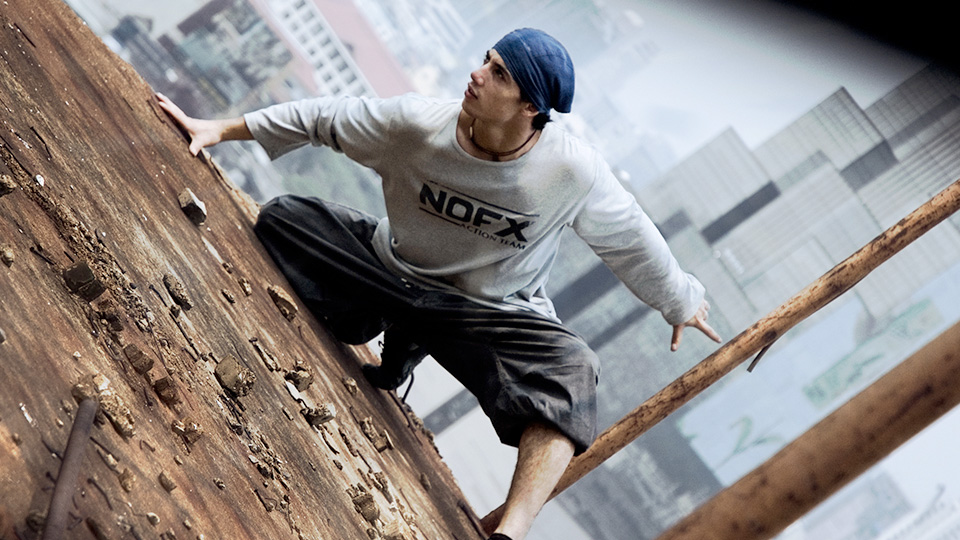
Not all of you know young lads, who jump around the movies and play bad guys brutally beaten by movie heroes like Tony Jaa. I had have a wonderful opportunity…