


Mortal Kombat is the full-length martial arts movie version of the video game that most parents were condemning a few years back. You know the game…that’s the one where your characters use various martial arts techniques to defeat their opponents, and thereafter rip out their spinal cords in some sort of bloody victorious ending to the match. Well, those parents will be pleased to know that while the film features the same characters and storyline, none of the bloodletting makes any appearance.
Being a total 90′s kid, I loved this film due to my love for the video game I used to play. Having re-watched this martial arts movie over the past couple of days allowed me to realise how far films have come in terms of special affects. The film has it’s funny moments and some good fighting scenes, with the martial arts element still looking pretty good to this day.
The bare-bones plot has ex-monk/warrior Liu Kang (Robin Shou), martial arts film actor Johnny Cage (Linden Ashby) and policewoman Sonya Blade (Bridgette Wilson) travelling to a weird, remote island to attend a martial arts tournament known as – you guessed it – Mortal Kombat. The God of Lightning, Lord Rayden (Christopher Lambert), accompanies Liu Kang, Johnny and Sonya and represents the side of good. Shang Tsung (Cary-Hiroyuki Tagawa) represents the evil Outland empire.
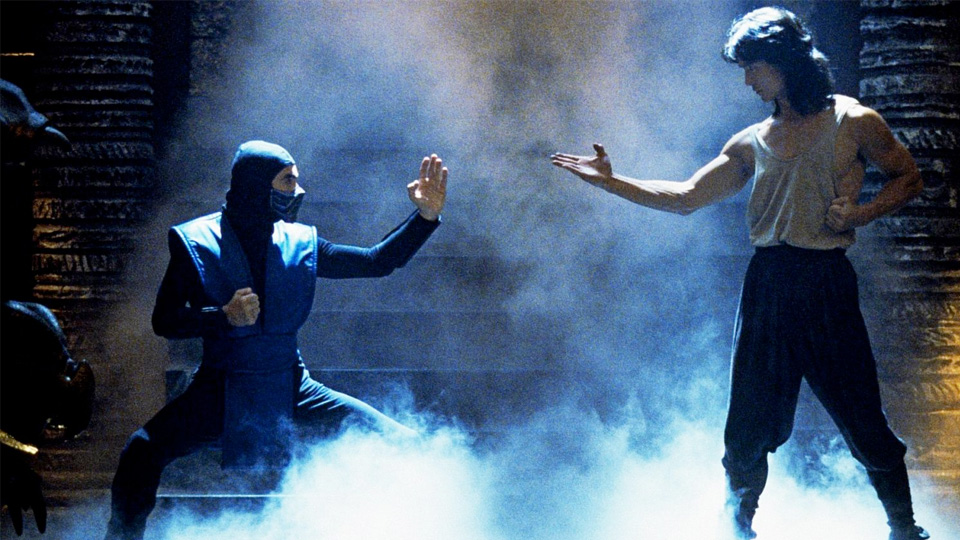
The rules of Mortal Kombat are simple… Outland has won the last nine tournaments, and if they win this tenth, they get to invade the Realm of Earth and trash the entire planet. Doesn’t sound like much fun, so I suppose good will have to triumph over evil otherwise we’re all in trouble, eh? Other Mortal Kombat favorites include Goro, Scorpion and Sub-Zero. From what I’ve seen, the plot’s simple framework is solely there to bind together some fabulous set designs and special effects. The movie itself is dreadful, but the cinematography is stunning, and again, some of the set designs have to be seen to be believed.
There was one set in particular I really liked, an apparently endless room filled with rotting ropes, ladders and bridges heading off in all directions – it was so intricate that I feel sorry for whomever had to build it. Aside from a few cheesy cloud effects, the remaining effects were quite good, especially the Goro sequences. In case you don’t know, Goro is this 7-foot tall, topknoted, four-armed creature, and he interacts quite often with his human counterparts. Goro is apparently a combination of computer and live-action effects, and all his movements are extremely fluid. Again, the effects were the main thrust behind this film – in fact, this 101m film has an end credits sequence running almost 10m, most of which list the various effects houses and personnel used in the production.
For a 1995 martial arts movie, Mortal Kombat is very watchable. The fights aren’t going to stand out very much in today’s world, but it was novel back then. Nowadays, though, you could probably pick a dozen direct-to-DVD action movies out at the moment with better fight choreography than the ones found in Mortal Kombat. Still, the combination of big budget production values, Cary-Hiroyuki Tagawa snarling his way through the film as the Big Bad, and that catchy techno soundtrack delivers a surprisingly fun watch.