


Let me simplify it for you. Kick some ass, get the girl, and try to look dope while you do it.
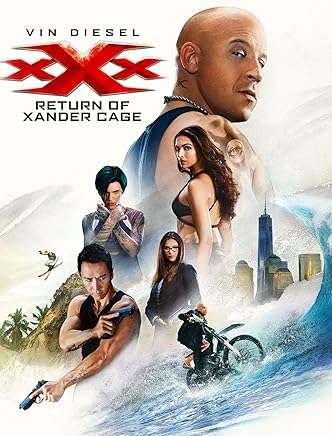
Xander Cage is one of the three Vin Diesel’s characters which made him popular in a movie world. In 2000 Riddick showed us the world of planet’s flesh-eating alien inhabitants, then in 2001 Dominic Toretto drew everyone into the racing world and robberies, and in 2002 the extreme sports athlete Xander Cage was recruited by the government on a special mission and… pronounced dead in the second part.
If you ask me “Who wanted Xander Cage back?”, I will tell you “I am”. “Did I wanted to see Vin as an extreme-sports bloke with espionage skills again?” HELL YES!
State of the Union under-performed at the box office and was criticized by critics, mainly for the poor performance of its cast, illogical story and overuse of CGI-influenced visual effects for most of the action sequences.
15 years later Vin decided to bring back his character from dead surrounded by a team of kindred-spirit outsiders. If you read the movie plot you will see Xander finding himself enmeshed in a deadly conspiracy… but no one’s watching an xXx movie for the plot!
If director Rob Cohen filmed a very cool and stylish action in 2002, and even tried to do the same for the second time with a chubby and incomprehensible action hero played by Ice Cube in 2005, director D.J. Caruso turned the third part into a goofy action that’s rooted in the absurd 90s mode.
There is a large amount of old action tribute scenes, including a freefall stunt that James Bond would have been proud of, skiing through a jungle, motorcycle chase inside a cresting wave, and a shootout on a plane that’s about to crash but seems falling from the space with zero-gravity.
When you watch comics movies such as Iron Man or Captain America, you know these guys have special powers and what they do make sense in the comics universe. But even if Xander Cage is a movie hero and an extreme athlete he is not a superhero, or should I say super villain? You can call him “Red Bull freakshow” but he is still a man.
Return of Xander Cage is a Chinese co-production investment and it explains Asian stars involved in this movie. Huahua and SFG made the undisclosed investment in the title from Paramount and Revolution Studios via a joint venture between the two. In addition to its investment, the Huahua/SFG venture will assist as China marketing partners for the action-packed pic. The partners did a similar deal on Jack Reacher: Never Go Back movie.
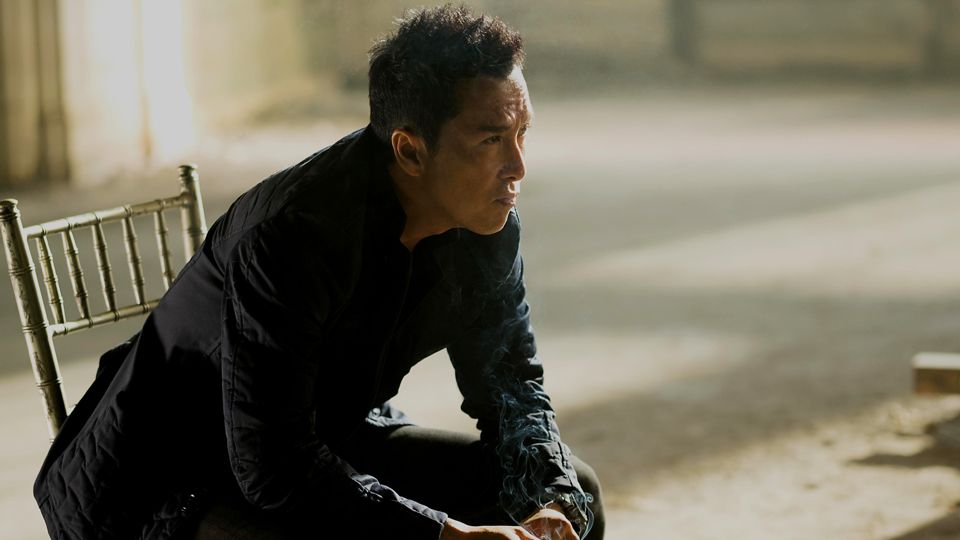
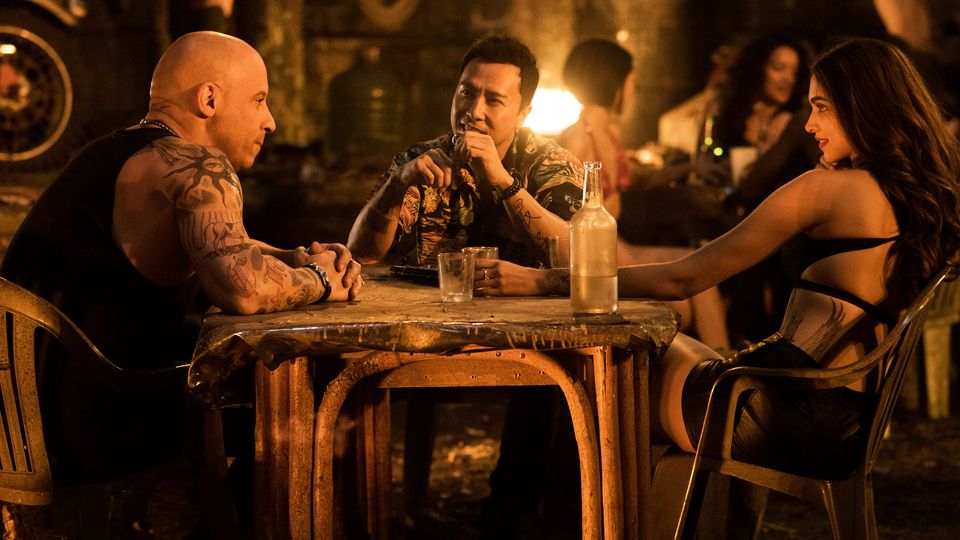
Vin Diesel certainly outclassed here by Donnie Yen who practically steals the film with dazzling martial arts skills. Yen is easily one of the best things about the movie, he oozes charisma as soon as he leaps on-screen. It’s hard to say could Jet Li play on the same level but I understand why he drop out of the movie in the last minute – Jet feels where he should play.
There are only three good scenes in this movie and all… with Donnie Yen. First one in the beginning of the movie where Xiang jumps off the roof and lands inside the secret meeting room killing everyone. The second one is chasing under the bridge where both Xander and Xiang are nearly killed in a car crash. And the third one where Donnie just crumbles all soldiers on the plane in the best traditions of Ip Man.
Tim Connolly, Jason Gosbee, Daniel Hernandez, Jeremy Marinas and Jon Valera are served as fighting choreographers on sets but undeniably Donnie Yen also did hard and uncredited work.
Tim Connolly is known for his work on 300 and The Matrix Reloaded, Jason Gosbee for X-Men: Apocalypse and Suicide Squad, Daniel Hernandez for Jurassic World and The Avengers, Jeremy Marinas for Teenage Mutant Ninja Turtles and The Wolverine, Jon Valera for John Wick and Hitman: Agent 47.
Can you imagine what kind of stunts and fights could be done with such talents on sets but unfortunately they were wasted.
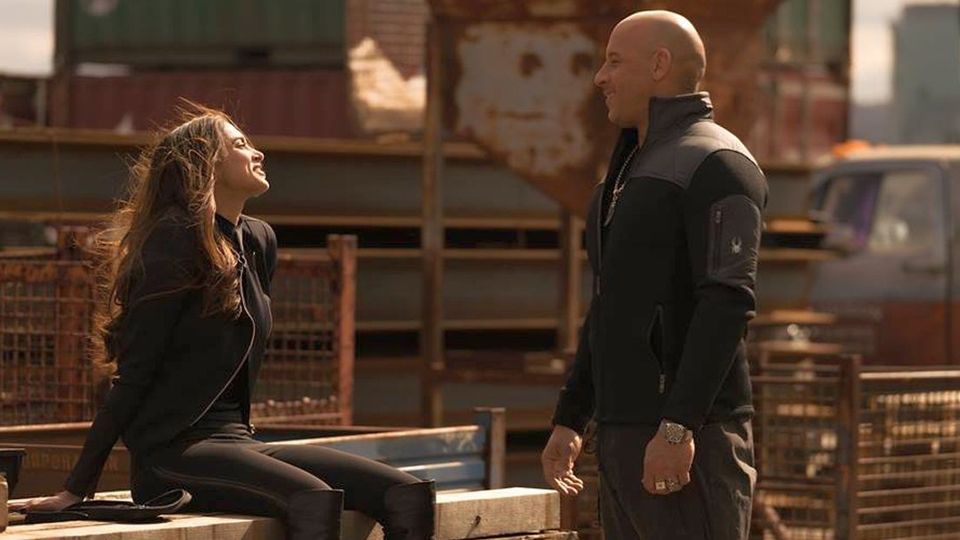
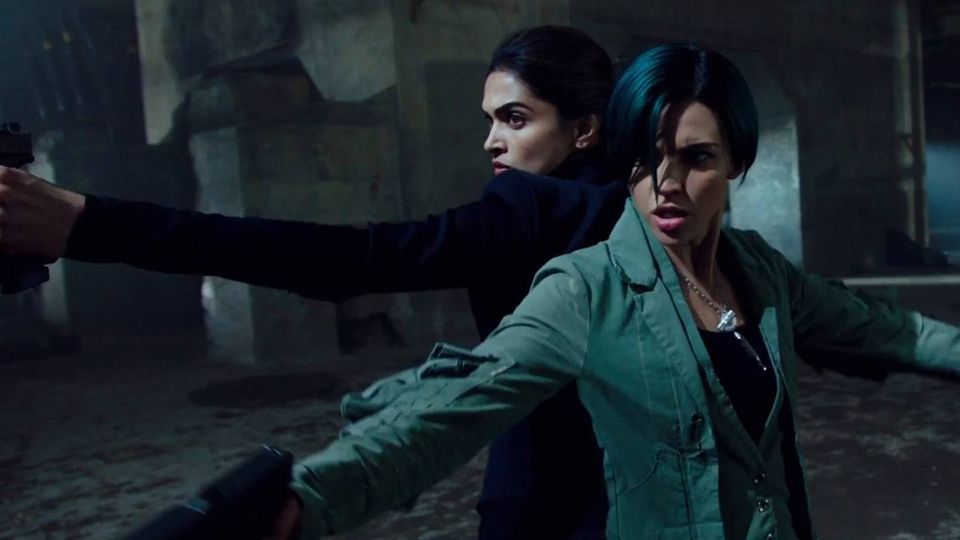
Deepika Padukone is another good thing about this movie. She is sexy, intelligent and looks good in action sequences. This is her first American action role as Serena Unger, a knife-throwing huntress and love interest of Xander Cage.
I never understood a modern trend with strong women who can do the same thing as men, but if audience now wants to see that, please film it in a good way otherwise the result will leave everyone with an ironic smile on a face. Seeing Adele and Serena killing a special unit team like Bad Boys makes you close your eyes and forget what you have just seen.
Summing up, most scenes in this movie are so numb so I wanted to left the cinema few times. None of what’s happening onscreen makes any sense, and finally converts it into undeniable Theatre of the Absurd.
The third part lacks unique style and plays as a platform that exists mainly so Diesel can play Xander Cage again.
Xander says in the movie “Is this the perfect place to disappear?”, but another character responds “If only the price is right”. So I suppose if this movie will gross enough in the boxoffice it is just a question of money when we will see the next part.
But for XXX4, I’d prefer more non-weaponised combat with Donnie Yes as a lead and Tony Jaa as a second-in-command.
Box office
- xXx – with a budget of $70,000,000 grossed $277,448,382 worldwide
- xXx: State of the Union – with a budget of $60,000,000 grossed $71,022,693 worldwide
- xXx: Return of Xander Cage – with a budget of $85,000,000 grossed ? (to be updated) worldwide
Characters by value for the movie
Xiang
A deadly alpha warrior and ex-XXX played by Donnie Yen.
Serena Unger
A dangerously and sexy killer played by Bollywood star Deepika Padukone.
Xander Cage
Vin Diesel brought back his character but this time he is more like a macho-man in the same coat serving 6 women at a time with totally absurd words.
Jane Marke
An intelligence officer for either the CIA, MI6 or NSA (who cares) played by Toni Collette who tracks Xander down with an urgent new assignment to find Pandora’s Box.
Talon
A crazy blonde assassin played by Tony Jaa, but in this movie his skills are a bit wasted. My only complain is about his desire to play funny characters and scream like Bruce Lee. Tony, please, stop it!
Hawk
British ex-Special Forces played by Michael Bisping. I really enjoy to see Michael on the screen, he made a perfect muscle guy ready to crash and burn. While Bisping doesn’t have same star power as Conor McGregor who should play this role before, he has a lot of potential for action movies.
Tennyson Torch
A crazed stunt driver played by Rory McCann better known for the role of a bad-ass in Game of Thrones.
Becky Clearidge
A nerdy IT specialist played by Nina Dobrev who absolutely doesn’t fit into this role after the Vampire Diaries TV show. If you will watch S.H.I.E.L.D. or Flash shows you will get what I mean.
Adele Wolff
A heavily tattooed animal-loving sniper played by Ruby Rose, who tries to show a crazy weaponized woman but ends up as something not even close to. But she likes to be hanging on a tree what reminds some Kung Fu movies.
Darius Stone
A former U.S Navy SEAL officer played by a rapper Ice Cube. In this part he plays a one-man-team with a grenade launcher saving outlaws and at the same time delivering Xander’s classical car.
Augustus Gibbons
Another character who likes to fake his death.
Neymar
Neymar was attempt to be recruited by Augustus Gibbons, but unfortunately both got killed during this interview… or not? As I suppose Neymar wants to break through into the movies and we will see him more and more soon.
Paul Donovan
A leader of a special team played by a former NFL All-Pro player Tony Gonzalez. He serves here as an annoying factor with iron fists for Xander.
Nicks
DJ played by Kris Wu. I suppose the only reason why this character here is because Chinese producers invested money in this silly action extravaganza.